
To make a ribbon trimmed tutu
I have been wanting to have a go at making a ribbon trimmed tutu for a while now and decided that it was going to happen this weekend.
I am pretty happy with how it has turned out. They do take a while to make but it's not that hard.

you will need:
Scissors
Lighter, candle to seal ribbon ends
Sewing machine
Cardboard
First you will need to decide how long you want your tutu to be. Measure from the waist to where you want the tutu to sit and add about 1cm for the fold.
For this tutu I want it to be 24cm long. The satin ribbon I use is 38mm double side and has been cut to 16cm so it hangs a little over the nylon tulle. Make sure you seal the ends of the ribbon. I tried using my heat cutting tool but did not like the edges. So just used the scissors and candle.

I cut my cardboard to 24cm long and it's about 20cm wide. Your tulle will be 48cm long when you cut it. For more photos and instructions on how I cut the tulle see my first attempt at making a tutu.
I didn't cut all my tulle and ribbon at once. I did them in batches of about 15.

Once you have cut your satin ribbon and your nylon tulle to length, you are are going to sew them together. Now you want your ribbon to curl so look at how your ribbon curls.
See photo below the right side is going to sit on the outside of your tutu and will be the side that everyone can see.

When you pick up your nylon tulle you will notice that it has a curl also. You want to match this curl with your satin ribbon curl.
You want to place your ribbon on your machine with the right side of the ribbon facing down. So the ribbon curls up as you put it under the machine foot. The tulle will sit on top of the ribbon and and curl up also. I also like to use a longer straight stitch the the default stitch. Make sure you do a back stitch at the start and end of each ribbon. You will need to sew the satin ribbon to both ends of your tulle.
So for every length of tulle you use you will have two lengths of ribbon.
To make it a little faster once I got to the end of the satin ribbon I lifted the foot and moved the ribbon forward a little and the put the next length of ribbon and tulle under the foot. I only did about 5 at a time. I did this so I didn't have to much of a mess when I sewed the satin ribbon to the other end of the tulle.
If you do this make sure when you sew the satin ribbon to the other side that you have the ribbon on the correct side.

Once you have sewn your satin ribbon to the tulle when you fold the tulle in half it should curl with the satin ribbon on the outside of the curl.

Now to make the tutu you make it the same as we did with my first tutu instructions. Only this time you have the satin ribbon on the ends. I fold my tulle in half and sit the ribbon side by side with the curls both facing the same way and feed it onto the headband.
You want to feed your tulle though so the loop is at the bottom of the tutu where you want you tulle to sit once your pull the nylon tulle through the loop.
Now to feed your nylon tulle back through the loop, I fold up the satin ribbons and then push them through the hole.

I made my way around the bottom set of holes first and then did the second set of holes to make two layers. If you need more photo's on where to feed the tulle see my post my first attempt at making a tutu
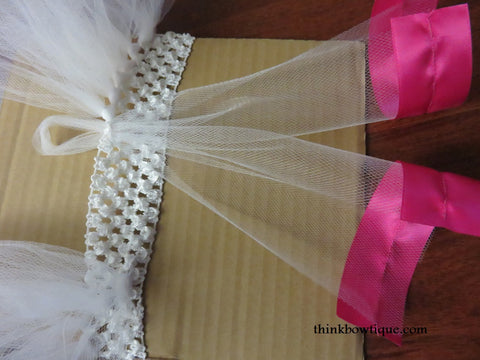
This photo is of one layer.

This is with one layer.

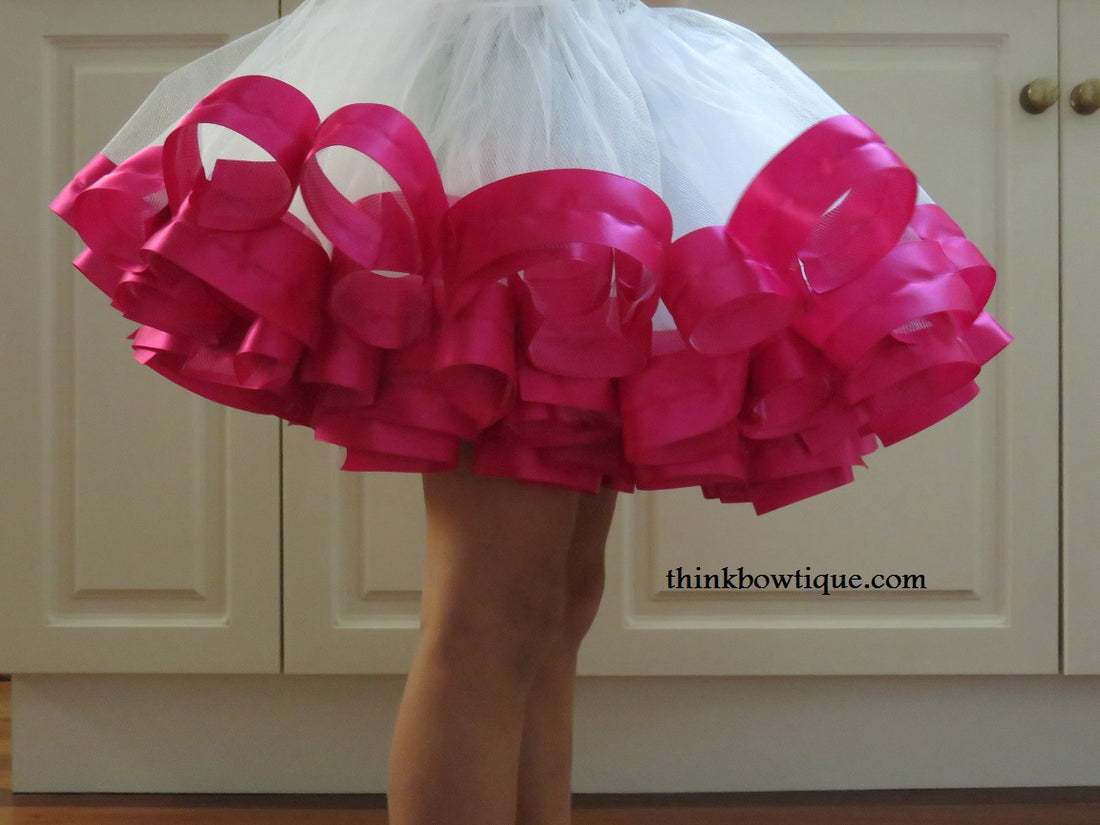
This is the tutu with two layers of tulle.

Now this tutu is very easy to make however it is not quick. There are so many colour combinations you can make with the satin ribbons and the tulle. You could also use 2 different colours of satin ribbon on the one length of tulle if you wish.
If you would like to share these instructions please share one photo and a link back to this post.
Happy crafting
Melissa