Make a leatherette bow with template
Make a leatherette bow with template

DIY leather bows
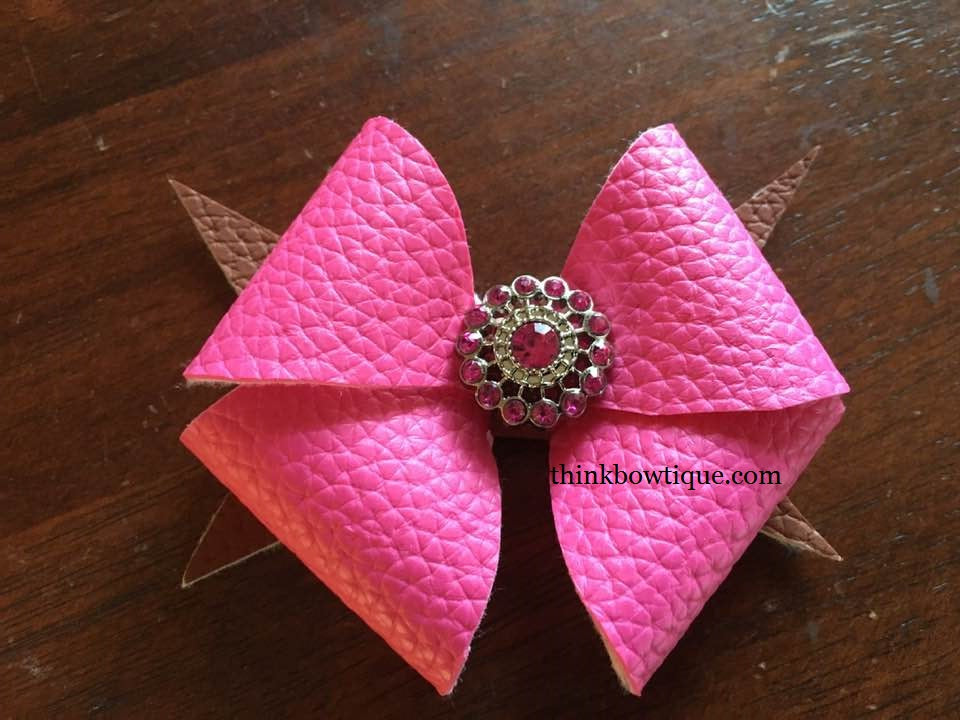
I finally found sometime to make a leatherette bow with our leatherette. First I needed to make a template for my bow. After a few attempts and redesigns I finally had my template. This bow is hand traced and cut. If you would like to use my design you can download the PDF file.
https://cdn.shopify.com/s/files/1/0656/6726/8853/files/bow_template.pdf?v=1662631789
Once you have downloaded the template print out and cut out. If you want something stiffer then paper and you like to recycle you could trace onto a clear juice bottle. This way you will be able to see though the template if you are using a printed leatherette and need to see the design. I just used paper for my template.


Trace the design on to the back of your fabric leatherette. I chose 2 colours using some seconds fabric I had. I used a pencil to trace the design.

Once you have traced the design cut them out. I cut them out just inside the line.

After you cut out the design it's time to glue together. Fold over one side at a time and put a drop of hot glue and hold in place. Once you have all 4 sides glued place the bow on the top of your base and wrap the centre strip around the bow.
Some fabric's you might need to rough up the surface to make sure the glue adheres to the surface. Scratch the fabric so the glue can penetrate the first layer of fabric.

You can add a centre embellishment to you bow. I used one out my acrylic rhinestone buttons.

If you like this bow and use the template please come on over to the facebook page and share with me your creations. I would love to see them and what leatherette fabric's you use.